Building an Editing Workflow for a Feature Documentary
A start-to-finish editing workflow for feature documentaries — from offload and organization through paper edit, assembly, lock, and finishing.
The thing nobody warns you about editing a feature documentary is how long you’ll live inside it. Months, often more than a year. Hundreds of hours of footage, dozens of versions, notes from producers and funders, a story that changes shape as you cut. Without a workflow, that project will swallow you. With one, it’s still hard, but it’s survivable. Here’s a structure that has carried me through several features, stage by stage.
Stage 1: Offload and organize before anything else
The most boring stage is the most important. Before you cut a single frame, get your media in order.
Offload every card with verified, backed-up copies — the classic rule is at least two copies on different drives, and never wipe a card until you’ve confirmed the backup. Then build a consistent folder and bin structure: by shoot day, by location, by interviewee, whatever fits the film, but pick one logic and hold to it. Rename nothing on the original media, but use your software’s bins and metadata to make it findable. The discipline you spend here you get back tenfold later. If you’re still picking software, the best editing tools for documentaries weighs the options for exactly this kind of long-form load.
Stage 2: Transcribe and screen
You can’t edit what you haven’t seen and can’t find. Watch your footage and transcribe your interviews. I run everything through automatic transcription early so the whole project becomes searchable, then clean up only the material I’m likely to use. The full method is in how to transcribe interviews fast.
As you screen, take selects — mark the strong moments, the lines that land, the images that breathe. By the end of this stage you should have a sense of your best material and a searchable record of all of it.
Stage 3: The paper edit
This is where documentary structure is really decided, and it happens in a document, not a timeline. With transcripts in hand, build the story on paper: copy the lines and moments you want, in the order you think they should go, into a script. Move them. Find the arc. Argue with yourself about what the film is actually about.
The paper edit is fast and unprecious — moving a paragraph costs nothing, where rebuilding a timeline costs an afternoon. It’s far easier to discover you’ve got no third act on the page than after you’ve cut it. Most experienced doc editors swear by this step precisely because it fails cheaply.
Stage 4: The assembly
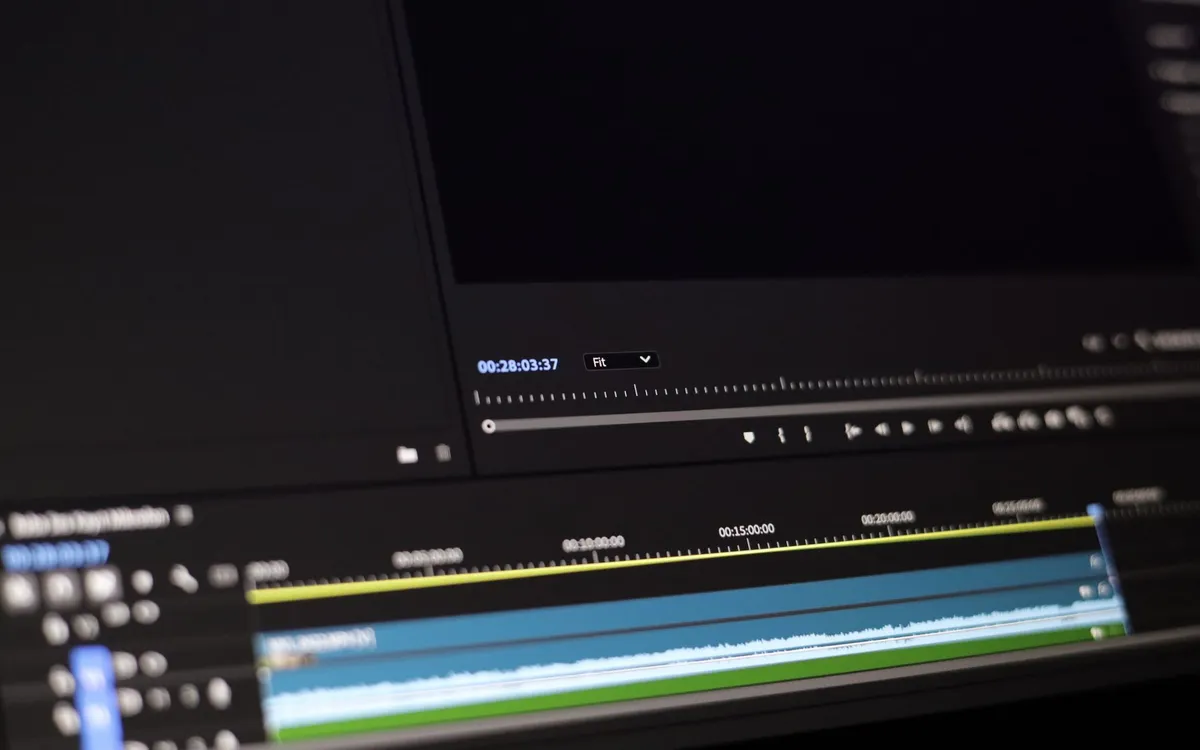
Now you go to the timeline and build the long version — the assembly, or string-out. It will be far too long, baggy, and unbalanced. That’s correct. The assembly’s job is to get the whole story into the timeline so you can see it, not to be good. Because your transcripts carry timecode, pulling each chosen moment is a lookup, not a hunt.
Watch the assembly all the way through. It will be painful. This is where the real edit begins.
Stage 5: The rough cut and refinement
From the assembly you cut down, restructure, and refine across multiple passes. Each pass has a focus: this time for length, this time for pacing, this time to fix a section that never worked. Tighten. Kill darlings. Move sequences. Test the story on a few trusted viewers and watch where their attention drifts.
This stage is iterative and emotional and it takes the most time. Use a remote review tool to gather producer and funder notes cleanly — see Frame.io and its alternatives — and above all keep your versioning ruthless. Name and archive every cut so you can always go back, and so notes always land on the right version.
Stage 6: Picture lock
At some point the story stops changing. That’s picture lock — the edit is final and won’t move. Locking matters because everything downstream depends on it. Color and sound work on a locked picture; if you re-edit after, you make their work redundant. Don’t lock until you mean it, but when you do, commit. A “soft lock” that keeps wobbling poisons the finishing stages.
Stage 7: Finishing
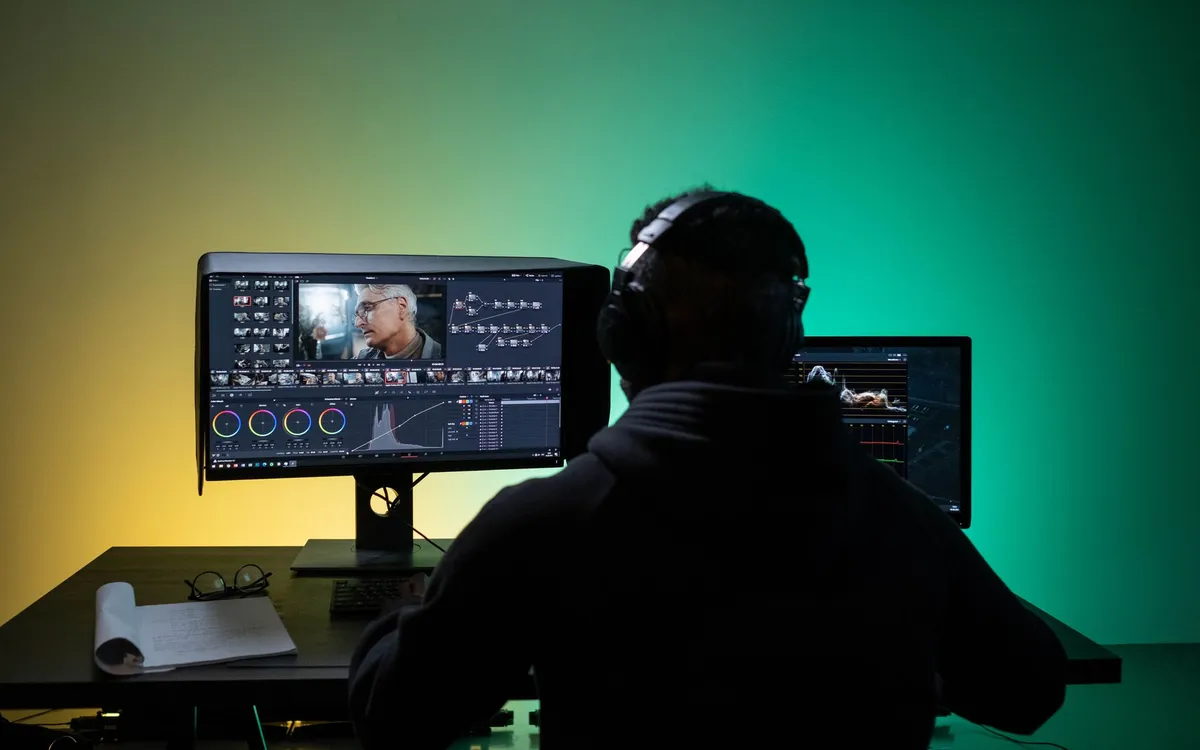
With picture locked, the specialists take over. Sound design and the mix shape the film’s feel as much as the picture does. Color grading makes the mismatched footage one film — covered in how to color grade a documentary. Titles, lower-thirds, and any archival cleanup happen here too.
If you’re finishing yourself in one application, this is smoother; if you’re handing off to a colorist and mixer, your interchange — XML, AAF, organized media — has to be clean.
Stage 8: Delivery
The film isn’t done at the end of finishing. It’s done when you’ve created and checked every required file: masters, captions, audio stems, festival and broadcast versions. This stage sinks more projects than people expect, which is why it gets its own deliverables checklist.
None of this is glamorous, and that’s the point. A feature documentary is won in the boring, structured middle — the workflow — far more than in any single brilliant cut.
Building an Editing Workflow for a Feature Documentary
The editing, color and audio tools we use to finish films. Subscribing through our partner links supports independent coverage.
See editing softwareSome links on Indian Point Film are affiliate links: if you buy or subscribe through them we may earn a commission, at no extra cost to you. It never changes our recommendations.
Keep reading
DaVinci Resolve vs Premiere Pro for Documentaries
One is free and grew up in the color suite. The other has thirty years of editorial habits baked in. For documentary, the choice is closer than people think.

The Best Video Editing Software for Documentaries
Documentary editing is an organization problem before it's a creative one. The best software is the one that keeps a thousand hours of footage findable.

How to Transcribe Interviews Fast (Without Losing Your Mind)
The transcript is where the documentary starts to take shape. Get it right and the edit half-writes itself; get it wrong and you'll scrub tape for months.